We’ve identified an issue with how the axles were assembled on some Batch 1 Aero Pro units. In certain cases, one or more axles may be missing threadlocker or have improper application which can result in the axle coming loose over time.
As a precaution, we are asking all Batch 1 Aero Pro customers to check their units by following the instructions below.
How to Check
To see if your unit is affected, please follow these instructions:
- Use the included Y-tool to remove each wheel nut. If a wheel nut appears to be stuck, use a socket wrench with a 13mm or 1/2” socket.
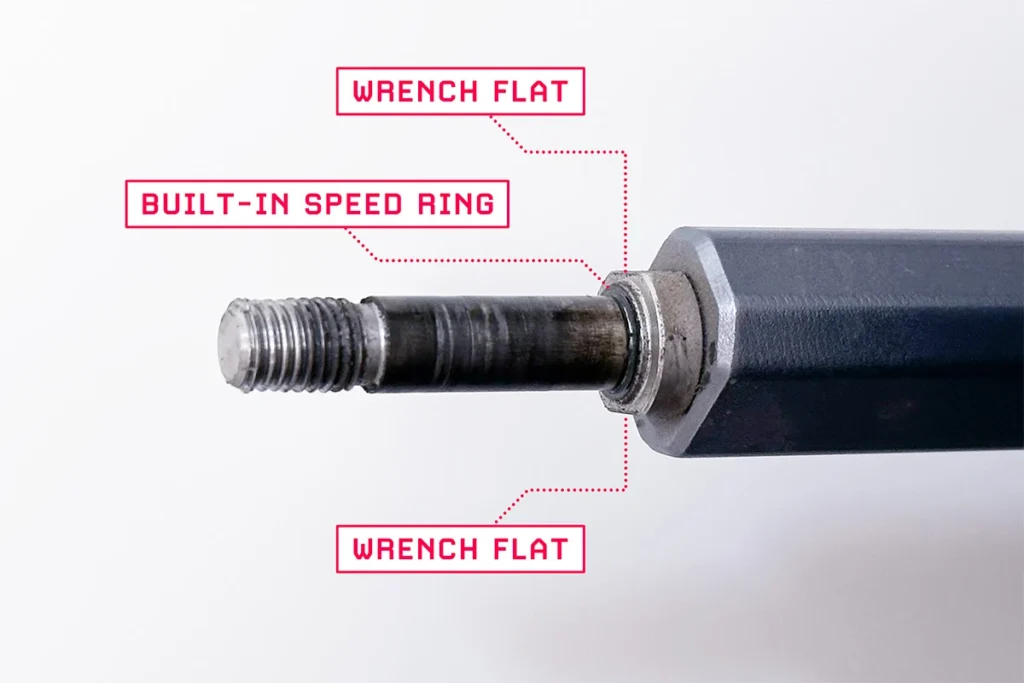
- Locate the wrench flats on each axle. Use a 12mm wrench or an adjustable wrench to attempt to unscrew the axle from the hanger.
If the axles do not loosen without additional tools (e.g., a blowtorch), your unit is not affected.
If an axle loosens easily using only a wrench, threadlocker was not properly applied to that axle during assembly, and your unit is affected.

How to Fix
If your Aero Pro is affected, please let us know and follow these steps to secure the axles:
- Obtain a small tube of one of the following: Loctite 263, Loctite 271, or Permatex 27100 threadlocker. Keep the receipt so we can reimburse you. (Only use the aforementioned threadlockers. Don’t use other models or brands. Beware of counterfeits.)
- Unscrew the loose axle completely and clean off the threads if needed.
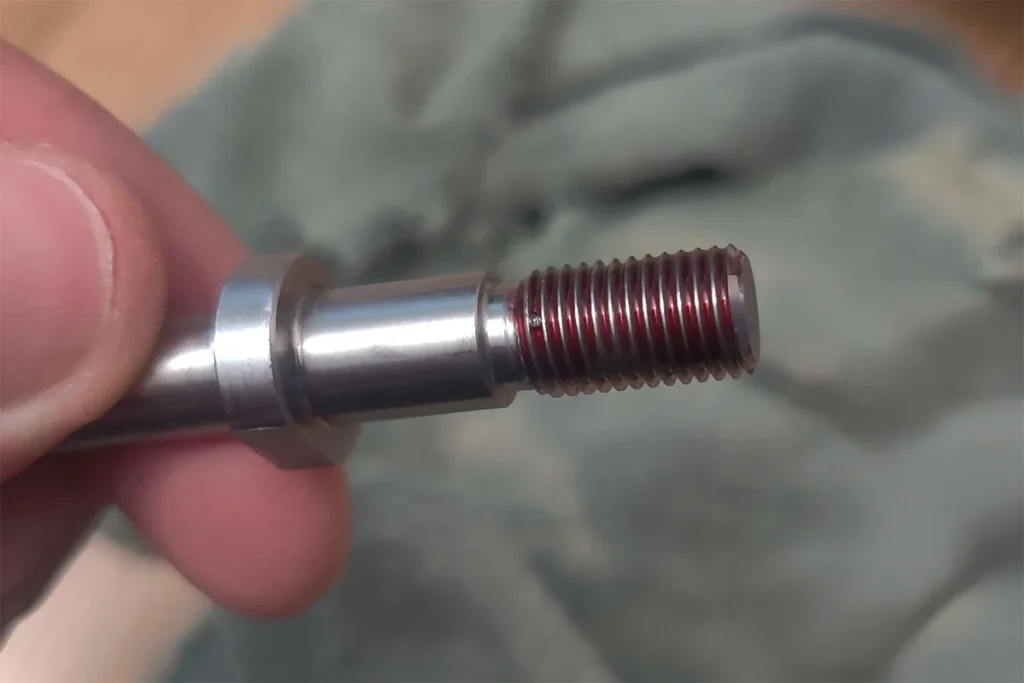
- Apply a line of the threadlocker to the threads that screw into the hanger.
- Reinsert and securely tighten the axle into the hanger.
- Let the threadlocker cure for 24 hours.
- After 24 hours, attempt to unscrew the axle again with a wrench.
The axle should now be firmly secured and should not loosen without excessive force or heat.

Need Assistance?
If you have any questions or need further assistance, please contact us.
